

The team from The Wrap Institute has put together their list of the top 11 tips for installing low tack vinyl wraps - guaranteed to simplify your installation process and deliver head-turning, wow-factor results.
For easy reference, the team from The Wrap Institute has organized their tips into 4 sections:
However, before we dive into the tips, let's do a quick recap on the differences between high tack vinyl and low tack vinyl.
High Tack Vinyl Wrap vs. Low Tack Vinyl Wrap
High Tack Vinyl Wrap: High strength adhesive between the vinyl and the carrier film. Designed to not be repositioned easily, but to ensure it doesn't move once placed on the substrate.
Low Tack Vinyl Wrap: Designed to allow easy repositioning. Once heat and pressure are applied, the adhesive is activated to create a strong bond between the film and the substrate.
11 Expert Tips For Low Tack Vinyl Wrap Installation
Pre-Installation
💡Tip #1: Before installation begins, take a few minutes to make sure that your design is correct, includes all updates, and that your printer is ready to print vibrantly on the vinyl.
💡Tip #2: When removing your vinyl wrap from the box, always cut directly on the ends, note the lot number, and confirm that it prints on all ink media platforms (solvent, eco-solvent, latex, and UV). This may sound like a simple step, but it is missed more than you think
💡Tip #3: Always make sure to download the correct print profile. Also, a cool or heat assistant laminator can be used, and make sure you line the vinyl wrap and the lamination up correctly - ensuring it runs straight.
Substrate Prep
💡Tip #4: Because low tack vinyl wrap can be picked up and repositioned, it is ideal for curved edges. Don't be afraid to reposition the film a few times to make sure you have that perfect alignment. Unlike high tack vinyl, you don't have to worry about starting over from scratch and wasting time and money if the installer doesn't position the wrap perfectly the first time.
💡Tip #5: Bubbles happen and you really can't get around that. At The Wrap Institute, we use Briteline WrapCast low tack vinyl film, which has this clever air egress feature that makes removing bubble pockets as simple as pressing down on them.
💡Tip #6: Do not overly stretch the film. The film is designed to be flexible, but if you stretch it too much the colour will fade. However, if this mistake happens, add a little heat. The film can shrink down to its original shape and tension, and in most cases, you will not need to reprint.
💡Tip #7: You can use an overlap of .5 inches to 1 inch between two panels. Just make sure to clean the base layer first with a light solution of isopropyl alcohol. Always go over the overlap with a heat gun and a squeegee to ensure a full seal.
Installation
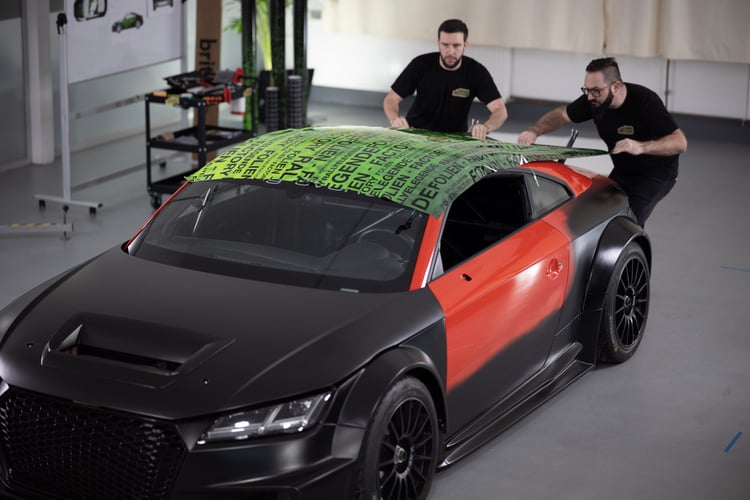
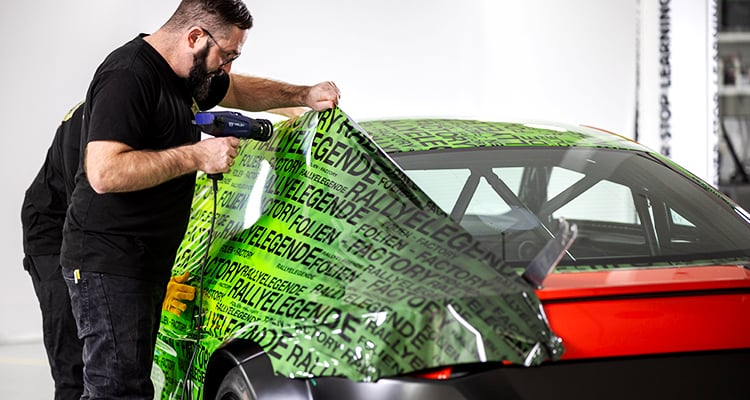
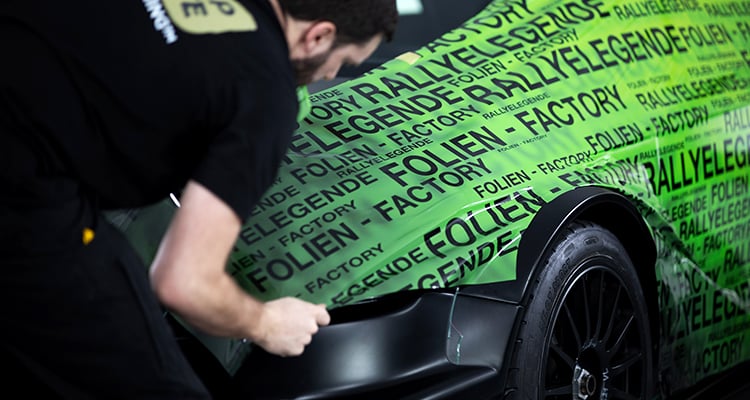
💡Tip #8: During the installation process, apply the vinyl wrap with firm pressure and heat, overlapping strokes by 50% to ensure no air is trapped under the film. Make sure to minimize stress on curves and channels to reduce the risk of popping.
💡Tip #9: For large panels (driver and passenger side doors) always trim the excess material off with the liner, release the entire liner and add heat when needed. Once the material has been applied to the main surface areas, trim off as normal.
💡Tip #10: For compound curves, Briteline WrapCast low tack vinyl wrap can be pre-stretched - so heat it, stretch it, let it cool, and then place it on the mirror. Once it's in the right position, then a peak can be added. This will trigger the memory effect and it will shrink right into place.
Post-Installation
💡Tip #11: Post-heat the vinyl entirely after the wrap installation is complete. You will need to reapply pressure during the post-heating phase. Before your customer receives their newly wrapped car you will need to let the vinyl sit for 24 hours.
Yes, wrapping with a low tack vinyl wrap like Briteline WrapCast is just that easy. And, following these 11 steps will make sure that every project has that wow factor you and your clients are looking for!
Check out this video on our most recent wrap project for Folien - Factory
We also put together a list of the must-have-tools for any vehicle wrap shop.